In 2011 Google officially announced Chrome OS as a lightweight, secure platform for laptops, meaning Chromebooks initially didn’t need lots of storage.
Recently, they support Android and the limited storage can be problematic, to help overcome this issue, we are going to tell you how to use Chromebook with external storage.
How to connect Chromebook to External Storage
Dear visitors there are 4 best ways to connect an external drive with Chromebook, it will absolutely depend on your Chromebook’s configuration.
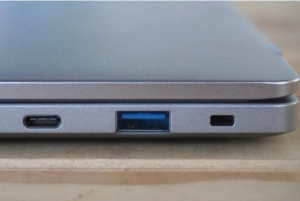
- USB-A: The older, rectangular USB port with square corners. You can only insert the male connector one way.
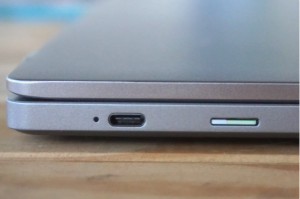
- USB-C: The newer, smaller USB port with rounded corners. You can insert the male connector up or down.
Recommended: How to Permanently Delete Your Twitter Account
- SD card slot: This thin slot typically measures 24mm across. You can use a MicroSD card, but it requires an adapter.
- MicroSD card slot: This thin slot typically measures 11mm across.

How to Access an External Drive on Chromebook
Number 1: First, you will need to connect your external drive or simply insert your card into the appropriate port of Chromebook.

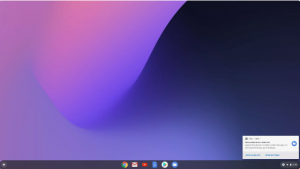
Number 2: Now your Chrome operating system will automatically detect the drive and presents a notification, Simply click on the “Open Files App” option.

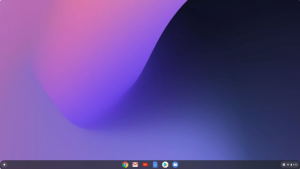
Number 3: Suppose if you missed the notification, you will need to click the “Files” app located on the shelf, keep enjoying while using Chromebooks.

If You Have Any Kind of Question-Related this Article You May ask in the Comment Section Below THANK YOU!


